Original pin:

http://quilttaffy.blogspot.com/2008/07/invisible-closing-seam-tutorial.html
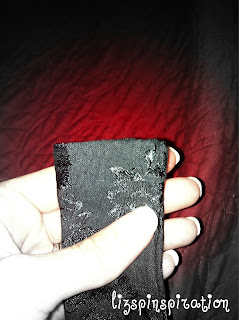
Invisible closing seam tutorial. I have actually used this a few times since the first , but originally I was using it to finish up a sash. It is really a great tutorial. It has clear instructions and lots of pictures so I had no trouble following along. I don't have too terribly much to say about it since it really was made so simple.
 |
| The finished product. |
Total cost: $0
Final verdict: Guess I already gave this one away when I said that I had used it multiple times already! oops! It is a great tutorial for a very handy stitching technique. I also used it on Pin 114 to close up my little owl.
Original pin:

http://blog.globalstreetsnap.com/post/23167060192/love-this
Going for this look. . . I pinned it to my "I could make that" board. And so I did. I attempted to make a top, skirt, and sash. And I attempted it without a pattern. I chose a few pieces I already owned to use as guides and worked from there.
The skirt gave me a lot of trouble and, as goes with sewing on the fly, I started to run out of fabric. It ended up tighter across my hips and thighs than I intended and I just couldn't get it to hang just right.
I love the top. It is very light and comfortable and goes well with jeans also.
Here it is:
The original model is much thinner than me and she is wearing the skirt higher at her waist, where I made mine to hit at the hips because that is more comfortable for me.
Total cost: eesh. I forgot. I did these a while ago and I can't find the receipt.
Total time: 4 hours. All three pieces were very basic items.
Final verdict: The top and sash have gotten a lot of use. The skirt--not so much. I have worn it a few times, but like I said before, it is a little tighter than intended and doesn't quite hang right. But I am out of room for more modifications. I might just hike it up next summer and wear it as a strapless dress. We'll see.


No comments:
Post a Comment