

http://www.thecountrychiccottage.net/2011/10/how-to-make-sweater-pumpkins-no-sewing.html
Getting in the fall spirit around here. Since it is still in the 90's I need something else to do around here with all those sweaters. Sweater pumpkins it is!
Last week, I hit up a couple thrift shops looking for some pumpkin-y sweaters. I had a little trouble at first finding orange AND in my budget. I was looking around for more like the dollar-a-piece type of items, and all the sweaters were clocking in around $3-4. Time to get creative. So I came home with one child's sized sweater, one adult sweater, a stocking cap, and a lap afghan. Today I swung by the dollar store to pick up a grapevine wreath to make stems.
 |
| The loot. |
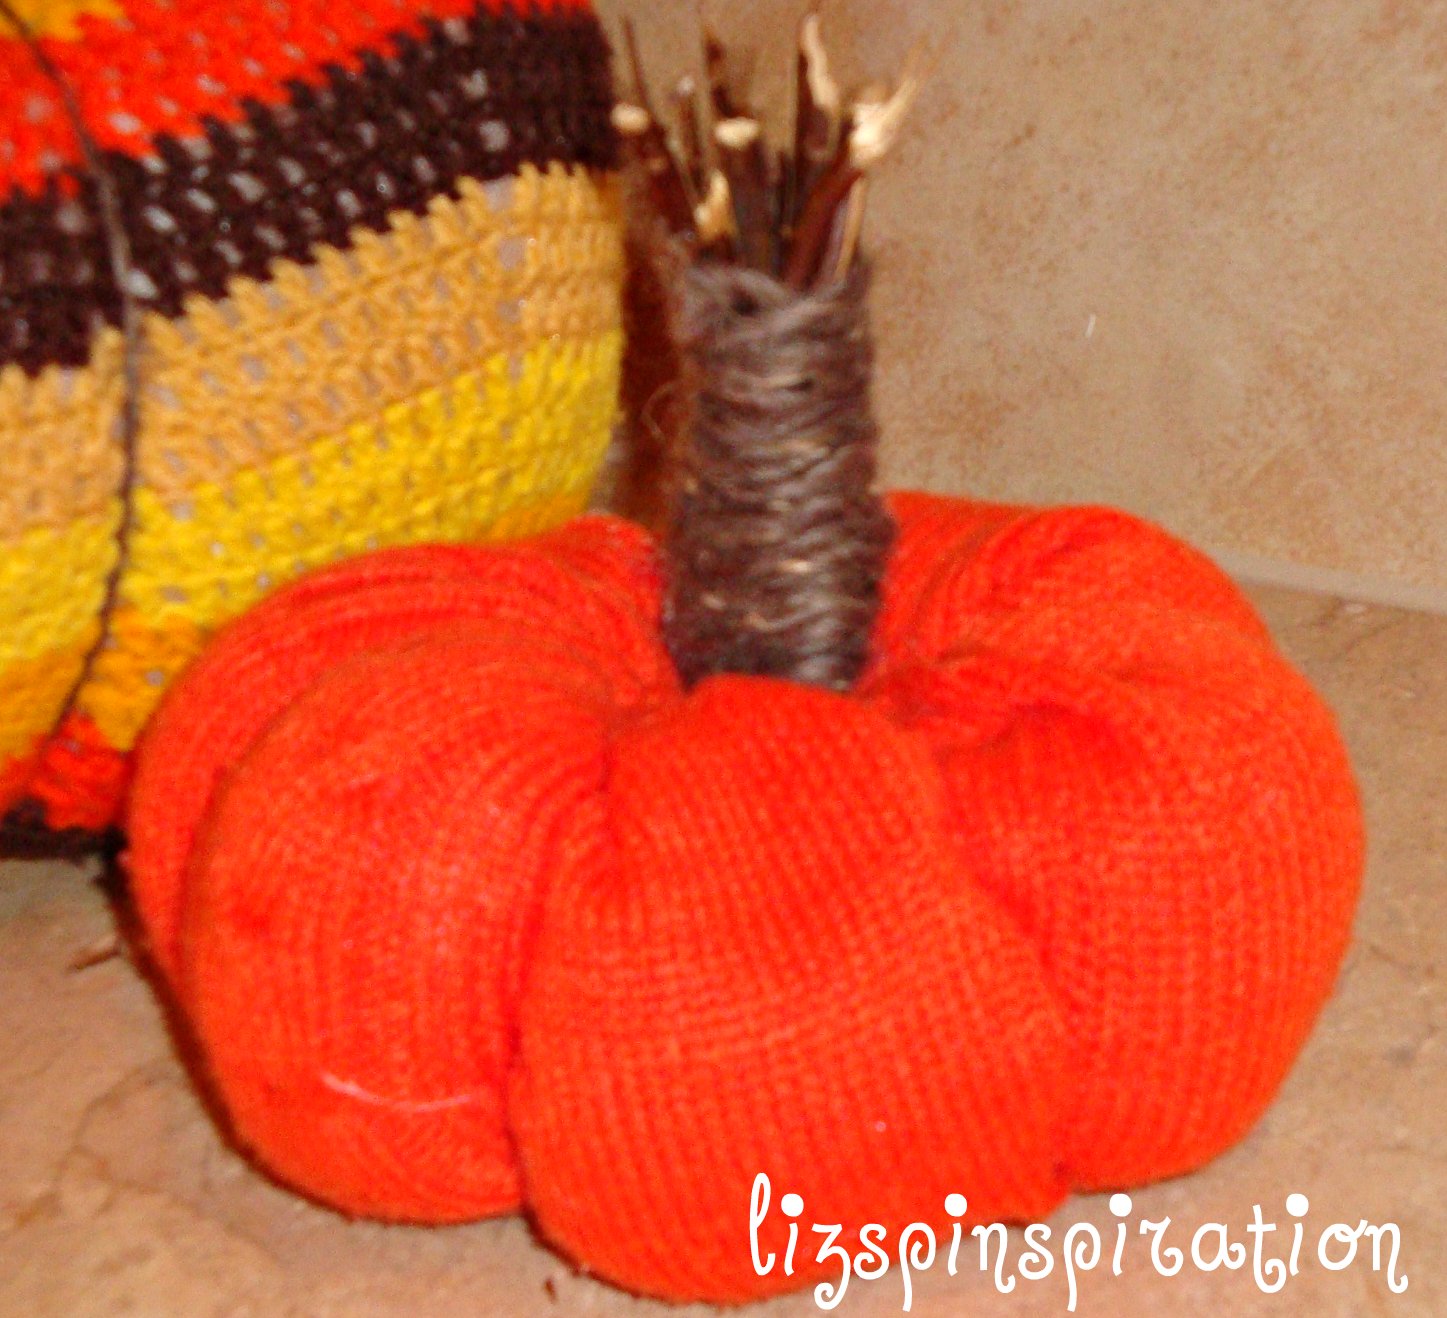
I didn't want to cut open the hat anywhere since it only has the one opening. I stuffed the hat to my liking and then decided to close it up a little differently than the first one. This time, I wrapped my grapevine stem piece in a little yarn and then used the tail of the yarn to sew around the rim of the cap.


When it was time to start gluing the edges shut on this beast I decided to skip the hot glue. I wanted to match up the stripes and I kept burning myself trying to do it so I decided to sew this one shut with some yarn. I ended up having to adjust the top a little as well to get the pumpkin shape I wanted. I tucked the excess down in the pumpkin and sewed the top shut using the same technique I used on the cap.
Since I was out of stuffing, and now nearly out of shopping bags, I decided to quit at three. We'll save the extras for something else. I posted this tease picture on facebook earlier today and all your guesses have inspired me. Looks like I will have plenty to work with.


Total time: 2 hours
Final verdict: A little bummed I ran out of stuffing so soon. They weren't as easy as they looked at first. I don't think I would hot glue again. I would sew the side seam and bottom seam shut. Personally, I think it is just as easy and looks nicer. Plus, if you mess up, it is so much easier to rip out stitches than hot glue. Stuff through the top, and cinch the top shut. If you don't sew, however, you'd better stick with her method. Cute idea, will add a nice festive touch to the house. You could make fabric stuffed stems to make them into pillows too.
No comments:
Post a Comment