

http://www.katyelliott.com/blog/2011/12/cinnamon-applesauce-heart-ornaments.html
Cinnamon heart applesauce ornaments.
These were very simple to make. I bought some large jars of ground cinnamon at the discount grocer for less than $2 each. One batch used about 1 1/2 of the large jars. It was easiest to incorporate by hand rather than try to stir together. They really need to be mixed well and this was the easiest way I found. Towards the end it was more like kneading a dough and incorporating the last part of the cinnamon in with the kneading.
I started these during a free minute while cooking dinner. Just after I finished mixing them I had to return my attention to dinner so I wrapped the dough in plastic and let it sit on the counter a while. After dinner was over and cleaned up I pulled the dough back out. Lately I have been rolling out things between wax paper rather than fight the fight of sticky dough. I sprinkled the bottom layer of wax paper with the cinnamon as directed but once the dough was rolled out the sprinkled cinnamon left some noticeable color variations on the surface of the dough that remained there after cooking. At the last minute, I decided to flip my hole-making skewer around and use the pointed end to make some decorations on the shapes.

You could make some really cute designs with some stamps! I didn't dig mine out ahead of time.
These had to bake a lot longer than the original poster suggested. Maybe it is the humid air here but one hour in they were still visibly wet. I just let them sit and came back periodically to check on them. After two hours, I flipped them to encourage the other side to dry out a little. In all I think they baked around 4-4 1/2 hours. The baking made my house smell so good! My husband kept asking if he could eat them. No, seriously, he really really wanted to eat them! Yuck.
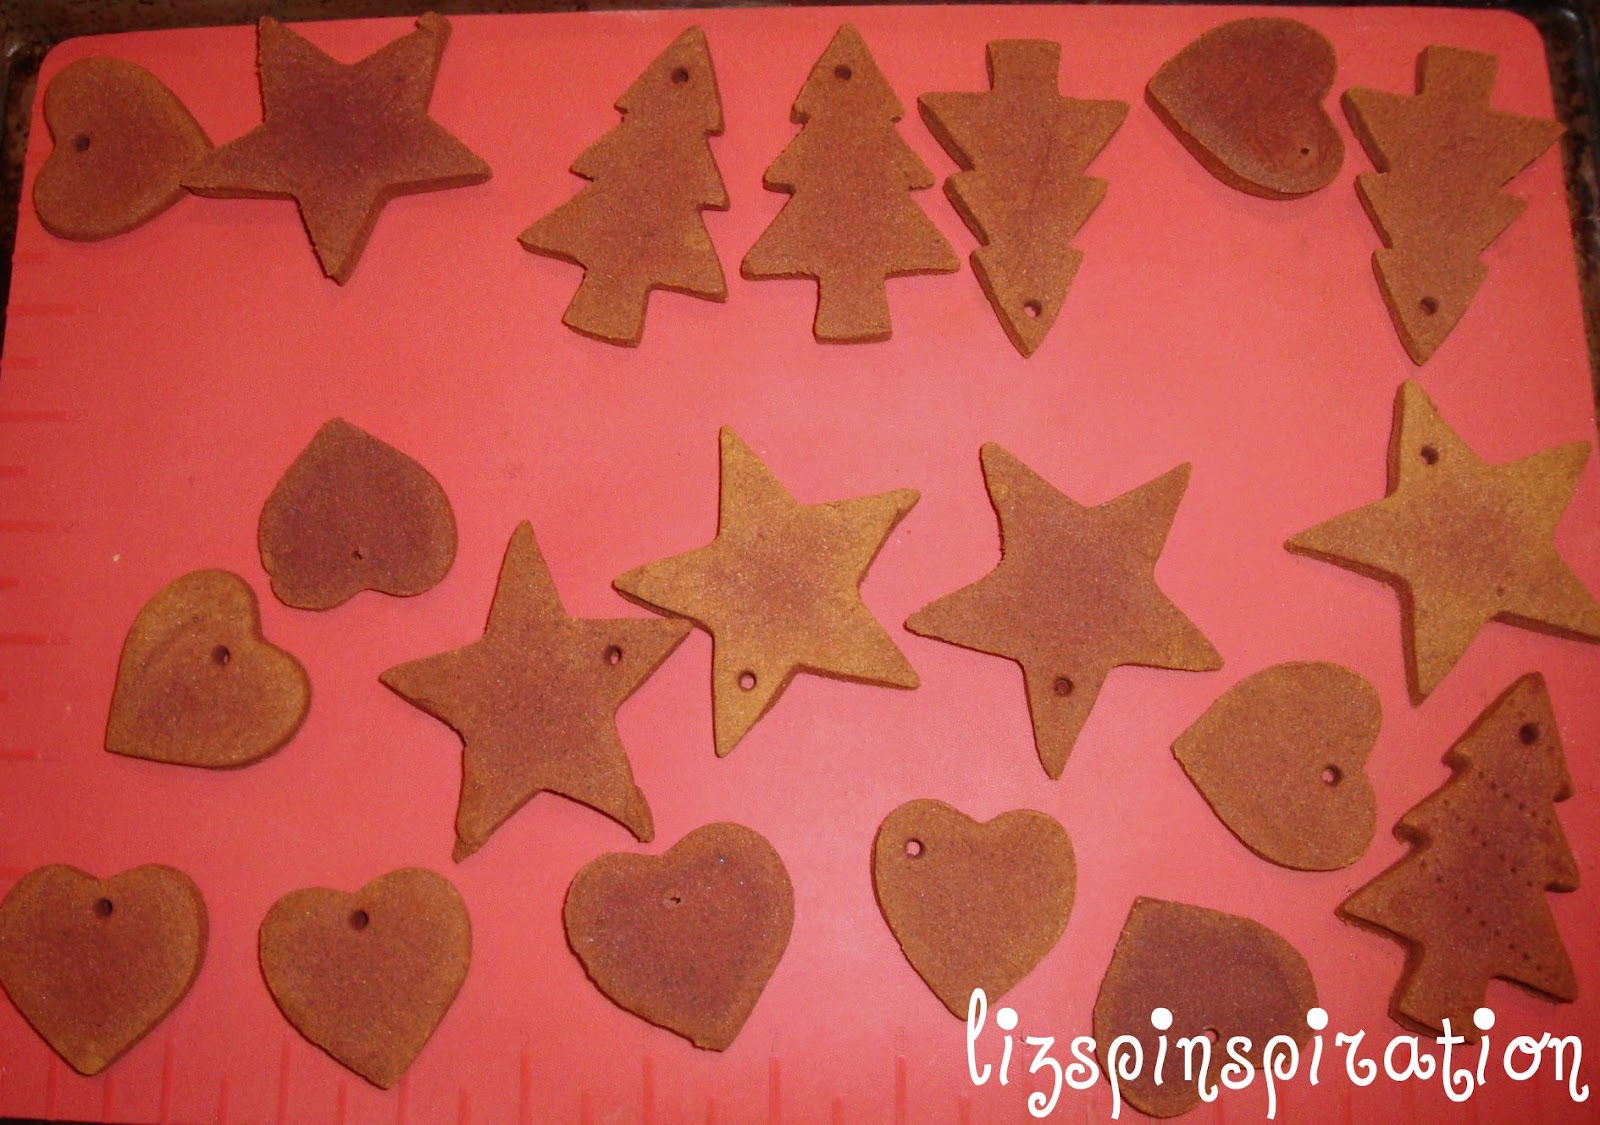
Remember that color variation I was talking about before? Can you see them on the edges of the cutouts in the photo below? That is not just the exposure of the photo.


I strung up a bunch individually and in pairs to use for gift wrap decorating. I had also carved our names into a few and stung them up together to hang on the tree.
 |
| Names obscured to protect the innocent. |
I tied some up with the festive yarn and some with the twine. The twine-tied ones look very rustic if that is a look you are going for.
Total cost: Less than $3
Total time: Prep time was about 45 minutes. Bake time was 4-4 1/2 hours. Play time... indefinite.
Final verdict: These were surprisingly easy and make a nice presentation. I have so many I don't foresee myself making them again this year. But I have got all sorts of ideas for next year. These would be fun ornaments for kids to gift their classmates, gift tags, garland-style decorations, all kinds of embellishments.
I made these as well I can only detect the scent if my nose is right up to it. Why Idk ?? Its too bad cuz they are cute. I will still used them. But am thinking on getting some christmas scented oil and drop on them. To perk them up a bit. :-)
ReplyDelete