Showing posts with label clothing. Show all posts

Friday, May 10, 2013

Pin 203: Coin purse upcycle

Original pin:

No source available

What a clever way to reuse denim! Since there was no link available, there was no tutorial available either. I had to just wing it.

My friend gave me these shorts from her daughter that had been stained but had really cute pockets. She thought maybe I could find something to do with them. I had been holding on to them a long while when I saw this pin and knew it would be perfect.

I started by laying out the shorts flat and cutting outside the large seam around the pocket so I ended up with these two pieces:
I hemmed the top edge and then pinned right sides together. I stitched around the rounded edge. After trimming flipping right side out I stumbled across a small problem (like I tend to do when sewing without a pattern and/or plan. . . )  The hardware could not be attached in this way because I had sewed completely up the sides. I had to then rip out the side stitching an inch or so.
I had to rip back until the top of the flower patches.
Attaching the hardware was not easy. The type of hardware I had purchased required hand sewing. I had to borrow a thimble to hand stitch the hardware through the thick denim hem. No tears, but quite a few curse words later the hardware was attached. I had to re-sew the side seams by hand as best as I could. Phew, finally complete!  Thankfully, I was returning this to the original owner, a sweet little girl who will never notice a couple of flaws.


Don't look too closely at that hardware stitching on the end there. . . 
Total cost: A few dollars in hardware

Total time: Maybe two hours?? I did this during my crafting retreat last weekend and the time just drifted away. . . 

Final verdict: A cute idea. Next time I will try to find some hardware that isn't hand stitched on. And I will also know to leave the sides open until after the hardware is placed.

Wednesday, January 16, 2013

Pin 175

Original pin:
Pinned Image
http://styleawip.blogspot.com/2009_12_01_archive.html

Isn't that scarf beautiful?? I couldn't locate any details about who makes it, but the link mentions that it is $1,100!! Wow.  I had it pinned to my "I could make that" sewing inspiration board. Yesterday was gloomy, snowing, and cold. I took myself to the fabric store to create my interpretation.

I was looking for an easy replication that did not require hand sewing. I bought a quarter yard of lace and a quarter yard of some super soft knit fabric. In retrospect, I didn't do this in quite the right order, but I am trying to tell you what I think a more appropriate order would be. The pictures may not match up exactly to the directions. I measured off two cuts of eight inches of lace and applied some fusible web to the top two inches of each.

I trimmed the top along the lace pattern just to have a prettier edge than a straight line.
Then I removed the backing, and ironed it onto the bottom two-three inches of each end of the scarf.
Next, I sewed along the edges of the lace overlapping the fabric, just to secure it in place. I did not stick right along the cut lines.
My stitch line--more like an approximation of the edges.
The final step was to add a rolled hem to the edges of the scarf.
 
All done!
 
 
Time to wear it out to dinner with the girls!


Total cost: $5. Wow! I saved $1,095! Wait until my husband hears how thrifty I am.

Total time: 45 minutes--even with doing things a little out of order. I bet this could be done in 20-30 minutes next time.

Final verdict: It was sooo soft. It was fairly light weight too so it didn't feel bulky. I am not a fan of winter wear, but this didn't bulk me up and feel too wintry at all. It is very versatile and can easily be paired with lots! I am happy with the outcome!


Sunday, January 6, 2013

Pin 172

Original pin:
Pinned Image
http://www.whooga.co.uk/Cleaning-Ugg-Boots

How to clean Ugg boots.

I've had my Uggs a long time. I think I've had them for somewhere around four years. I protected them with water & stain repellent when they were new, but other than that, I haven't done any sort of maintenance care to them. In the cooler months, I wear them a lot--pretty much anytime I think I can get away with it. After wearing them out in the Christmas Day snow we had I decided it was time to give them a spa treatment.


I pulled this up and started reading. My first thought was that I though it was odd that a company which seems to be a competitor for Ugg boots would be offering a guide to cleaning them. Is this trustworthy? After a little further investigation I offer you this bit of worldly information: The word "ugg" is a generic word. It refers to any type of fleece-lined sheepskin boot. The word happens to be trademarked in over 70 brands. So this particular company is only offering advice on how to care for their boot, also referred to as an ugg.

Okay. Confusion cleared and I can move forward. Many moons ago, when I received my Uggs, my thoughtful husband also bought me the tools to maintain them. For the first time ever, I dug them out.
cleaner and protectant
suede brush


More before pictures for you. My boots weren't terribly dirty. Some noticeable spots on the top of the foot and some dirty areas on the heels and around the top of the calf.


Oddly enough (which I would have known if I had ever pulled out the cleaner bottle) the directions on the cleaner bottle were very similar to the directions on this website. Step one was to brush. I noticed a big change just after a little brushing so I took a few pictures for you.

WOW! Did I even need to continue? I was a little worried about getting them so wet. Just for a little insurance, I asked my husband if he would replace them if this ruined my boots. Both the directions told me to so I jumped right in.  I soaped them up following the dilution instructions on my bottle and rinsed them off. Found a nice spot for them to dry and went to bed.
all wet.
In less than 24 hours they were completely dry and ready for the next round of brushing. All the spots had not been removed. There were lots of warnings on the tutorial and the cleanser bottle about scrubbing too hard so I went a little easy on them. The dirtiest spots on the heels and calves are pretty much gone. The spots remaining are on the top of the foot. They are not water spots or anything identifiable. I don't have a clue what they could be. Probably something sticky one of my kids drooled on me. There are a few tips on the tutorial for removing stains if you know specifically what they are--ink, blood, oil, etc. I just left them since I don't have a clue. Here they are all clean--well, cleaner, at least--and brushed:


Total cost: Currently, zero. At some point, long, long ago, someone spent some money on the cleanser. I looked it up on amazon and it seems that you could spend around $8 for a bottle of cleanser or up to $25 for a whole kit.

Total time: 1 1/2 hours plus drying time. It took me a while to brush these puppies. At least they dried faster than I would have expected.

Final verdict: It seems to me that brushing them may be the most effective step for me. I'm not tromping through much mud and snow. Maybe now I will brush them more often, or at least when I start to notice they are dirty. It is probably a good idea to clean them as the cold weather moves on before they get put away for the summer. Seems that the original repellent has done its job since these still look pretty good after four years. Off to re-apply that repellent to keep these babies happy.


Sunday, December 30, 2012

Pin 170

Original pin:
Use another pair of pants to trace your pattern.
http://www.theribbonretreat.com/blog/pajama-pants-tutorial.html

The pin description called this tutorial "one-seam pajama pants" but that was a little misleading. The "one seam" referred to the fact that there is only an inner seam on the leg--not an inner and an outer seam.

As I mentioned on the Facebook page yesterday, the next few posts are going to be projects that have just been hanging around being unfinished. I think we all have THAT project that for one reason or another, just doesn't get done. My big end-of-the-year-beginning-of-the-year blowout is going to be wrapping up a few of these.

Over the SUMMER (!) L-man picked out this fabric he wanted for jammies. It was flannel (hot), I thought I had a pattern for jammies but couldn't find it, I found it but it wasn't his size, . . . lots of excuses. He could see the fabric sitting at eye-level on my craft shelf and kept asking when I was going to make his pajamas. Sheesh.
When I stumbled across this pin not too long ago I decided this would be the way to go with finishing these up.

As true to form, I modified it a teensy-weensy bit. First, I didn't want a different cuff. In making my pattern, I extended the sides and bottom by 1 inch and the waistband by 2 inches (my elastic was 1 1/4 in).  I was using a pair of pants to measure that was almost too small and I wanted roomy, comfy jammies.  When it came time to hem the pants, I finished off the edges on the serger and then folded up a one inch hem. I stitched the serged edge in place and topstitched around the bottom.
Really not much in modifications. It was a good tutorial. It assumes you do know a little about sewing but it has good pictures and is easy enough to follow. It was a great idea. I was a little worried (after I cut of course) about the waistband being wide enough to stretch comfortably.


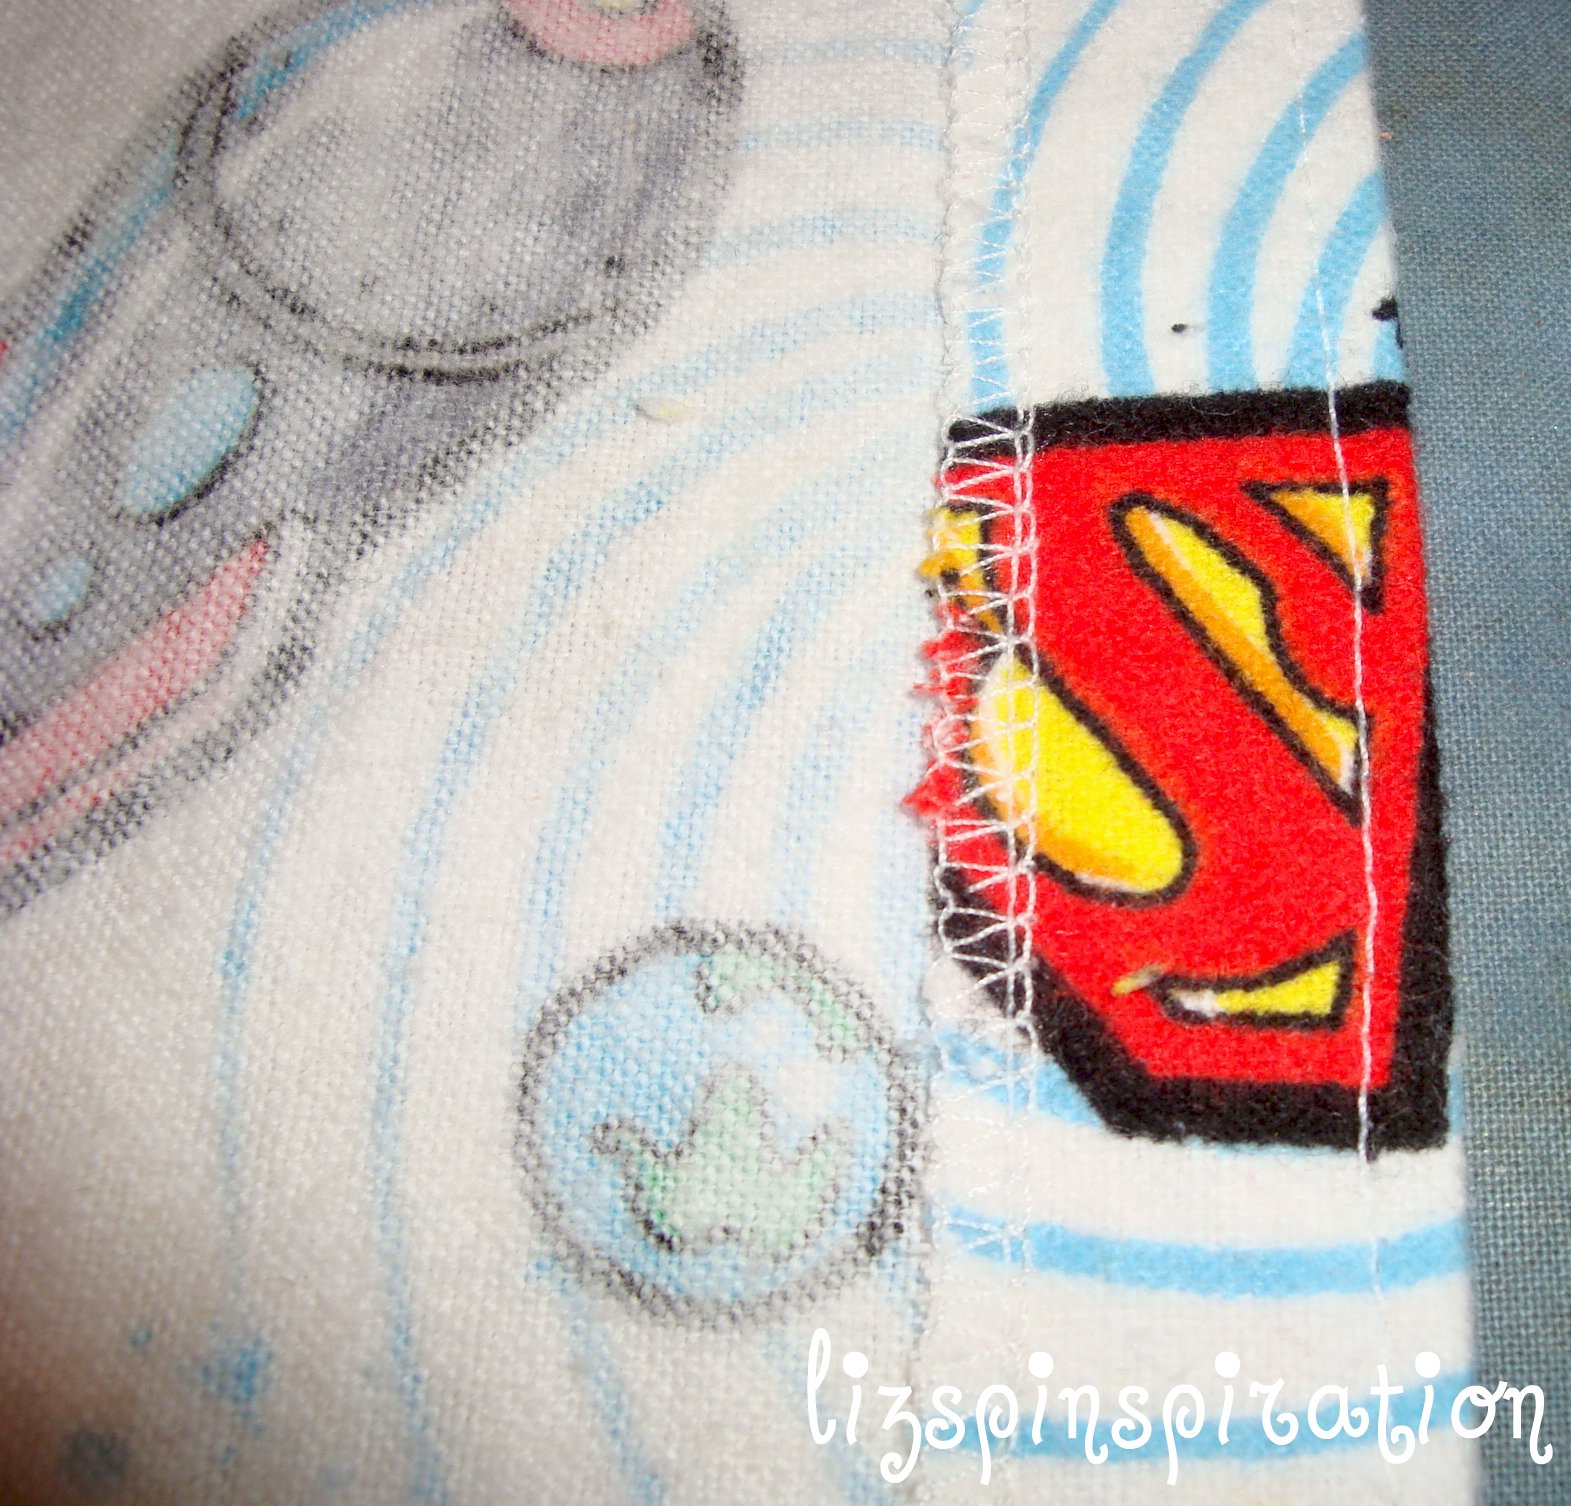
I wanted to make a top to go with it. L likes his jammies to be a matched set. I grabbed a dollar store t-shirt from my stash. (I grab them whenever I see a size that we use. Can't beat $1 and someone is always needing a t-shirt. I also cut them up and use them for miscellaneous projects. Cheap knit jersey fabric.)  I cut a few spaceships and a Superman logo from the scraps and appliqued them onto the t-shirt using trusty ol' Pin 70.
And it was all ready to go!

This morning when I showed them to him he was so excited! Like Christmas all over again.

Look at this (crazy) happy face:
And they fit PERFECTLY!!
Total cost: I don't remember what I paid for the fabric so many months ago. I am guessing probably around $3. I used one yard and had a little scrap. I probably could have squeezed them out of 3/4 yard but maybe not had an embellished t-shirt to go with it. Add in a dollar store t-shirt for $1 and the entire set is $4. You can't buy jammies for $4!!

Total time: 1 hour for the pants. 30 minutes for the top. Easy peesy lemon squeezy.


Final verdict: I hope the crazy grin on his face tells you! He loved them. I was surprised at how easy they came together. I will totally do this again. How easy would this be to make as a gift (if you had the right size of pants to measure. . . )
Aren't you supposed to have bed head AFTER bed?? Just sayin'.
Love this boy!

Wednesday, October 31, 2012

Pin 150

Original pin:
Pinned Image
http://www.etsy.com/listing/58441969/black-adult-tutu-long-black-skirt-sewn

This fun adult tutu is sold on etsy at the link above for $395.00. I attempted to recreate this skirt for my Halloween costume this year. . .

I did not do this the easiest way, I am certain of that. That is just one of the consequences that comes along with sewing without a pattern.  This is the way I did it:

First I created an underskirt from a cheap black sateen. I took a length that was 1 & 1/2 times my waist, finished the edges to prevent running, and sewed it shut along the short edge so that I ended up with a big circle of fabric.


Next I pressed about a two inch casing along the top edge. I pressed it with RIGHT sides together so that the casing would fold down over the front of the skirt.

I had estimated 25 yards of tulle to create a tutu this full. I didn't want to do the cut-into-sections-and-knot technique of tutu making that is common with kid tutu's. I just couldn't bear the thought of cutting 25 yards of tulle into strips. So instead I started by measuring the length I needed to reach the floor from my waist. I measured this out in tulle and then zig-zag folded the tulle until it was about four to six thickness. I cut it off from the bold and stitched along the top to hold the zig-zag together. Once I had folded and stitched the tulle I then started gathering  See Pin 147 so read how I did that. So I ended up with 6 or seven sections of tightly gathered, layered tulle.

I started pinning the sections around the top of the skirt, lining up the edges of the tulle with the pressed fold of the casing so that the casing would fold down over the top of the tulle.

Turns out, 25 yards was not quite enough.
So I ran out and bought 10 more yards to fill the gap. Once it was filled I basted all the tulle in place. Then I folded the casing down and stitched it into place. I tried a few techniques with the elastic but I am only going to share the one that worked!

I took black 2 & 1/2 inch elastic and sewed it along the top of the casing. I created a sash, from the same cheap sateen, that was ridiculously long--but that is the way I like it. Then I slipped the skirt on, wrapped the sash around my waist about a million times and tied it in a bow. Here is the final reveal!

(I had fun taking these pictures! Even more fun when I started playing with the effects!)


Channelling the original pin model


 At our first Halloween party I popped on a tiara, some cobwebs, and a spider and went as a Spider Queen.
My little mermaid and me
Total cost: 35 yards of tulle, 2 yards of sateen, and a dollar store t-shirt = $50-ish. A little more than I generally spend for a Halloween costume, but way, WAY cheaper than the etsy version.

Total time: I couldn't even guess! This was a lot of playing around to see what worked. And handling 35 yards of gathered tulle is no small feat! It got so thick that it wouldn't fit under my machine foot. I broke 3 needles on this skirt!

Final verdict: So fun for Halloween. . . but I may be wearing it for every Halloween for the next decade! Whew! This was a project. But what girl doesn't want a giant, fluffy tutu?

Wednesday, October 24, 2012

T-shirt Makeover

The other day I was wearing the Peasant Shirt I made back at Pin 16.
I was thinking how easy it was and it really is a very comfortable shirt to wear. Then, like a lightening bolt, it hit me. Jersey knit. Let's make it from a t-shirt. I love, love, love t-shirt makeovers!

My favorite place to buy cheap t-shirts is at my favorite local dollar store. Availability is scattered, so if I see one in a color or size I like I usually just grab it.

I dug a black 2XL sized t-shirt out of the stash and went to work.
I cut a wide scoop neck from shoulder seam to shoulder seam. I also put a rolled hem on the sleeves.
I don't know why this picture looks so wrinkly. It wasn't that wrinkly.
I finished off the edge of the neck and then folded and pressed it under to create a casing. I threaded some 1/4 in baby elastic through the neck line (around 28 inches) and sewed it shut. After trying it on, I added a rolled hem to the bottom. I put it on and started creating looks. Look at all the ways I came up with to wear it:
Just on it's own. Relaxed fit, soft comfy jersey.
Spicing it up with some off the shoulder action!

I grabbed a black sash (back from Pin 132) :
Sash low on the hips

Sash at the waist, off the shoulder sleeves

Highest, empire waist, sash tied in the back
 Ahh! So many things to do with this one!

Total cost: $1

Total time: 45 minutes

Final verdict: Easy, breezy and versatile. I just got 5 looks for a dollar!