Showing posts with label sewing. Show all posts

Friday, May 10, 2013

Pin 203: Coin purse upcycle

Original pin:

No source available

What a clever way to reuse denim! Since there was no link available, there was no tutorial available either. I had to just wing it.

My friend gave me these shorts from her daughter that had been stained but had really cute pockets. She thought maybe I could find something to do with them. I had been holding on to them a long while when I saw this pin and knew it would be perfect.

I started by laying out the shorts flat and cutting outside the large seam around the pocket so I ended up with these two pieces:
I hemmed the top edge and then pinned right sides together. I stitched around the rounded edge. After trimming flipping right side out I stumbled across a small problem (like I tend to do when sewing without a pattern and/or plan. . . )  The hardware could not be attached in this way because I had sewed completely up the sides. I had to then rip out the side stitching an inch or so.
I had to rip back until the top of the flower patches.
Attaching the hardware was not easy. The type of hardware I had purchased required hand sewing. I had to borrow a thimble to hand stitch the hardware through the thick denim hem. No tears, but quite a few curse words later the hardware was attached. I had to re-sew the side seams by hand as best as I could. Phew, finally complete!  Thankfully, I was returning this to the original owner, a sweet little girl who will never notice a couple of flaws.


Don't look too closely at that hardware stitching on the end there. . . 
Total cost: A few dollars in hardware

Total time: Maybe two hours?? I did this during my crafting retreat last weekend and the time just drifted away. . . 

Final verdict: A cute idea. Next time I will try to find some hardware that isn't hand stitched on. And I will also know to leave the sides open until after the hardware is placed.

Tuesday, February 12, 2013

Pin 182

Original pin:
Pinned Image
http://dollarstoremom.com/2012/02/our-valentine-tradition-14-days-of-little-love-surprises/

I love this cute idea to help get in the holiday spirit. I pinned this a long before Valentine's Day and have been keeping my eyes out for some cheap Valentine-themed towels. Did I mention that this pillow is made out of towels? Like dollar-store-kitchen-two-per-pack towels? That is so my style. The idea behind the pillow is that there is a pocket on the front, and for the fourteen days of February leading up to Valentine's Day you leave sweet little notes and surprises for each other.

Unfortunately, I never came across said Valentine's day towels at the many dollar stores I frequent. I did, however, come across some St. Patrick's day towels. Put that together with a little red and voila! The "Lucky in Love" pillow is born.

Since I am making these for my two little boys who are notorious for sticky hands and snotty noses, I wanted to make sure these were washable. Pillow forms were on sale for half-price last weekend, so I picked up a couple of 12 x 12 pillows so that I could make these covers to slip on and off for washing.

I cut one 14 x 14 inch square and two 14 x 8 inch rectangles out of the shamrock towels.
Next I needed a pocket. I wanted to make my pocket out of the red and I wanted it to be heart-shaped. I needed to make a sturdy heart-shaped template. I keep a few empty cereal boxes in my craft stash because the thin cardboard is always coming in handy. I went to grab one off the shelf and found a Cheerios box in my hand. Looking down at it, I realized exactly how perfect it was.
It already had a giant heart on the box! What luck! It was the perfect size and now I didn't have to fuss with trying to get a perfectly shaped heart template. I cut out the heart and used it to trace two hearts out of the red towel.

I made a few attempts at getting this heart just right. One of the consequences of sewing on the fly is that you don't always do it the right way the first time. I'm going to try to show you the way I liked best but I didn't take many pictures of it.

I cut the two hearts out of the red towel. I stitched them right sides together almost completely around. Trim the excess, clip the corners, turn right sides out, press and topstitch around the whole thing, closing the open portion. I ended up with a nicely shaped lined heart pocket.
I pinned this to the center of the 14 x 14 square and stitched in place 3/4 of the way around, leaving the top open to make the pocket. Backstitch at the start and end to reinforce the pocket.
Yellow dotted line is the stitch line
Next I prepared the back. I serged one long edge of each rectangle to neaten it up a little. I sewed a 1/2 inch hem on one of the rectangles and topstitched close to the edge.
I pinned two pieces of Velcro in place on the hem and matched up the Velcro pieces on the serged edge of the other rectangle. I stitched the Velcro in place.

I laid the top piece down, right side up. I placed the back pieces on top, right sides together, lining up the Velcro strips and edges.
I pinned through all layers all the way around and stitched in place. Press, trim the excess, clip the corners and turn right side out. Press again and now it was ready for the pillow!
This was full version one, featuring heart version two. The heart is not exactly evenly shaped so I had to try it again.

Full version two, featuring heart version three--which I am completely happy with.

For comparison, version one on the left, version two on the right. Next to each other the lopsided-ness is much more obvious.

Total cost: $12 for two pillows--three shamrock towels, one red towel, two pillow forms

Total time: The first version took 1 & 1/2 hours, but since I had worked out a few kinks the second one was done in about 45 minutes.

Final verdict: I am going to give these to my boys on Valentine's day but I think I am going to have to replace the heart pocket on version one. My OCD-ness just will not allow that to stay when its twin is so much better looking. I know that my boys won't care in the least. The little lovebugs just adore anything I make for them.  I like her idea of sharing little messages but clearly missed the date on that one. These will be in season for at least another month, so maybe we will share messages from Valentine's day until St. Patrick's Day?  And now that I know how many dollar store towels it takes to make a cover, maybe I'll just whip a new one up for each season.


Thursday, January 31, 2013

Pin 180

Original pin:
Pinned Image
http://www.bluelacehouse.com/2011/05/make-your-own-camera-bag.html

A tutorial to make a camera bag insert to use in a purse and avoid the standard black boxy camera bag.

My birthday was earlier this week and I got myself a really fantastic birthday present! I have been saving my money a long time to get myself a fancy schmancy new camera! I am so excited. I have been wanting this camera for ever!!

I never even considered that I would need a place to store it. But as I waited in line at the camera shop to pay for it I was eyeing a bunch of really cute bags that were way, way out of my budget. I knew Pinterest could help me out here. It only took a few minutes to find this simple tutorial. Time to go shopping.

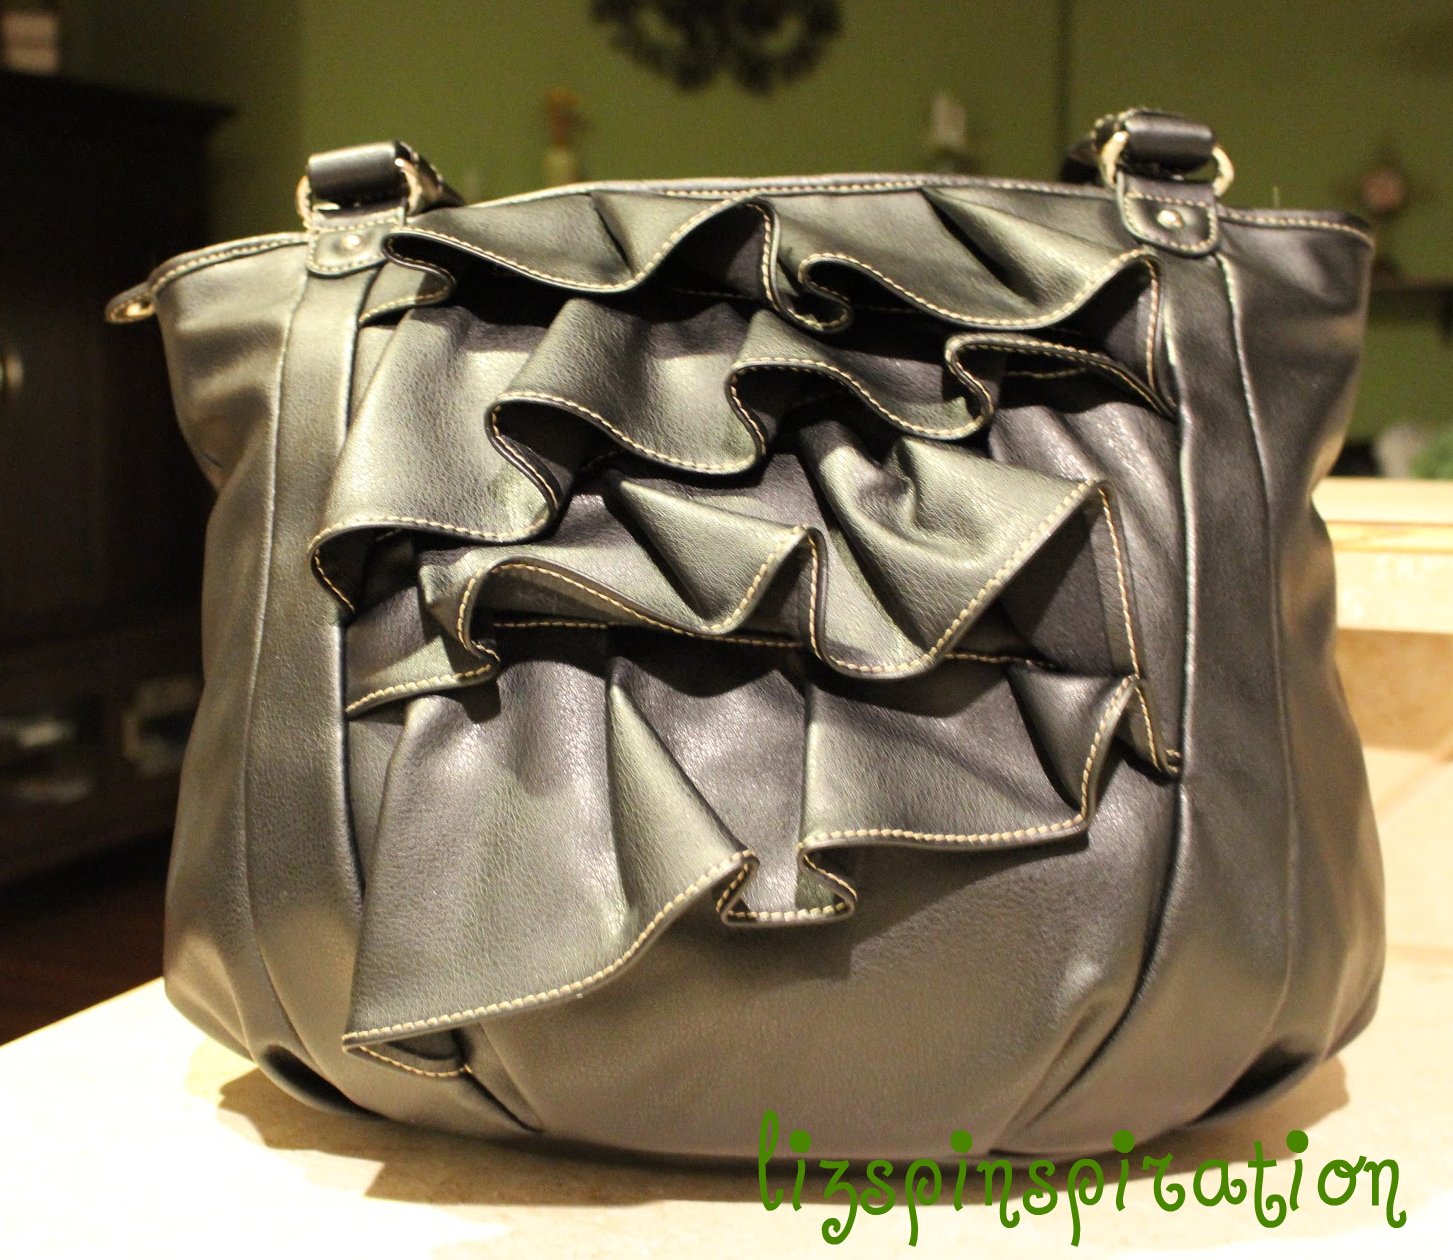
I hit up a discount clothing store and picked up this cute bag:
 
 
It has a large zipper-top opening and deep side pockets with a handy little zipper pocket on the side.
 
I swung by the craft store for some foam and some fabric--I needed something colorful to jazz this up. After I put the littles to bed, I started drawing out my plans.
I did this in the completely, absolutely wrong order. I should have first taken my bag home and measured both the camera and bag before buying the foam and fabric. But since the discount clothing store and the craft store are neighbors, I thought I could just estimate. I was a little short on foam. I had to compromise.
Foam core board to the rescue! This particular board has been in so many projects, but this was the last bit of it. I wrapped these in batting to substitute for some of the missing foam!

Then, I was short on fabric as well! So I dug out this t-shirt remnant that sort-of coordinated with my fabric.


I tried to follow her directions, I really did. They were simple and easy to understand, so its not her fault. I was just adjusting as I went. 

Halfway through, I decided to forgo as much Velcro as possible. Starting with the middle divider, I decided to sew it on. I just felt like it would be more stable that way. However, I could only easily sew the bottom part of the middle divider on.

So, then, I had to sew Velcro on to each side of the divider panel. (Note to self: sew the Velcro on first). Another step out of order.
I fully sewed each end on the insert. I couldn't sew the Velcro on for anymore dividers at this point. All Velcro should be sewed on before assembly! This is what happens when you sew as you go.

Here is the finished product. Its a little sloppier than I prefer. There are too many visible seams, the topstitching isn't tight enough to the edge so the edges look a little loose and sloppy to me.

The non-Velcro-ed divider slides in perfectly though--this is one of the ones with the foam core board.
All aside, this goes INSIDE a bag so really the only person to see these little details is me. So how does it look inside?

Not too bad. It adds a nice pop of color. It fits all my things perfectly. I'm not sure it could withstand just a whole lot of jostling, but I'm going to put some of that extra foam board & batting I covered underneath and on the ends for a little more stability.

Total time: Not the one hour she had!! I had a few trouble shooting moments to take care of. I spent about four hours all together on it.

Total cost: $24.99 for the bag and around $10 for not-enough fabric and foam. (That's not including the money I spent on other fun goodies at the discount clothing store while I was in there.)

Final cost: While it is not super pretty on the outside, it is doing its job nicely. It fits in the bag, it fits my things. I could do it a whole lot better next time. But I'm going to stick with this one for now. A great idea to save some cash!

Wednesday, January 16, 2013

Pin 175

Original pin:
Pinned Image
http://styleawip.blogspot.com/2009_12_01_archive.html

Isn't that scarf beautiful?? I couldn't locate any details about who makes it, but the link mentions that it is $1,100!! Wow.  I had it pinned to my "I could make that" sewing inspiration board. Yesterday was gloomy, snowing, and cold. I took myself to the fabric store to create my interpretation.

I was looking for an easy replication that did not require hand sewing. I bought a quarter yard of lace and a quarter yard of some super soft knit fabric. In retrospect, I didn't do this in quite the right order, but I am trying to tell you what I think a more appropriate order would be. The pictures may not match up exactly to the directions. I measured off two cuts of eight inches of lace and applied some fusible web to the top two inches of each.

I trimmed the top along the lace pattern just to have a prettier edge than a straight line.
Then I removed the backing, and ironed it onto the bottom two-three inches of each end of the scarf.
Next, I sewed along the edges of the lace overlapping the fabric, just to secure it in place. I did not stick right along the cut lines.
My stitch line--more like an approximation of the edges.
The final step was to add a rolled hem to the edges of the scarf.
 
All done!
 
 
Time to wear it out to dinner with the girls!


Total cost: $5. Wow! I saved $1,095! Wait until my husband hears how thrifty I am.

Total time: 45 minutes--even with doing things a little out of order. I bet this could be done in 20-30 minutes next time.

Final verdict: It was sooo soft. It was fairly light weight too so it didn't feel bulky. I am not a fan of winter wear, but this didn't bulk me up and feel too wintry at all. It is very versatile and can easily be paired with lots! I am happy with the outcome!


Sunday, December 30, 2012

Pin 170

Original pin:
Use another pair of pants to trace your pattern.
http://www.theribbonretreat.com/blog/pajama-pants-tutorial.html

The pin description called this tutorial "one-seam pajama pants" but that was a little misleading. The "one seam" referred to the fact that there is only an inner seam on the leg--not an inner and an outer seam.

As I mentioned on the Facebook page yesterday, the next few posts are going to be projects that have just been hanging around being unfinished. I think we all have THAT project that for one reason or another, just doesn't get done. My big end-of-the-year-beginning-of-the-year blowout is going to be wrapping up a few of these.

Over the SUMMER (!) L-man picked out this fabric he wanted for jammies. It was flannel (hot), I thought I had a pattern for jammies but couldn't find it, I found it but it wasn't his size, . . . lots of excuses. He could see the fabric sitting at eye-level on my craft shelf and kept asking when I was going to make his pajamas. Sheesh.
When I stumbled across this pin not too long ago I decided this would be the way to go with finishing these up.

As true to form, I modified it a teensy-weensy bit. First, I didn't want a different cuff. In making my pattern, I extended the sides and bottom by 1 inch and the waistband by 2 inches (my elastic was 1 1/4 in).  I was using a pair of pants to measure that was almost too small and I wanted roomy, comfy jammies.  When it came time to hem the pants, I finished off the edges on the serger and then folded up a one inch hem. I stitched the serged edge in place and topstitched around the bottom.
Really not much in modifications. It was a good tutorial. It assumes you do know a little about sewing but it has good pictures and is easy enough to follow. It was a great idea. I was a little worried (after I cut of course) about the waistband being wide enough to stretch comfortably.


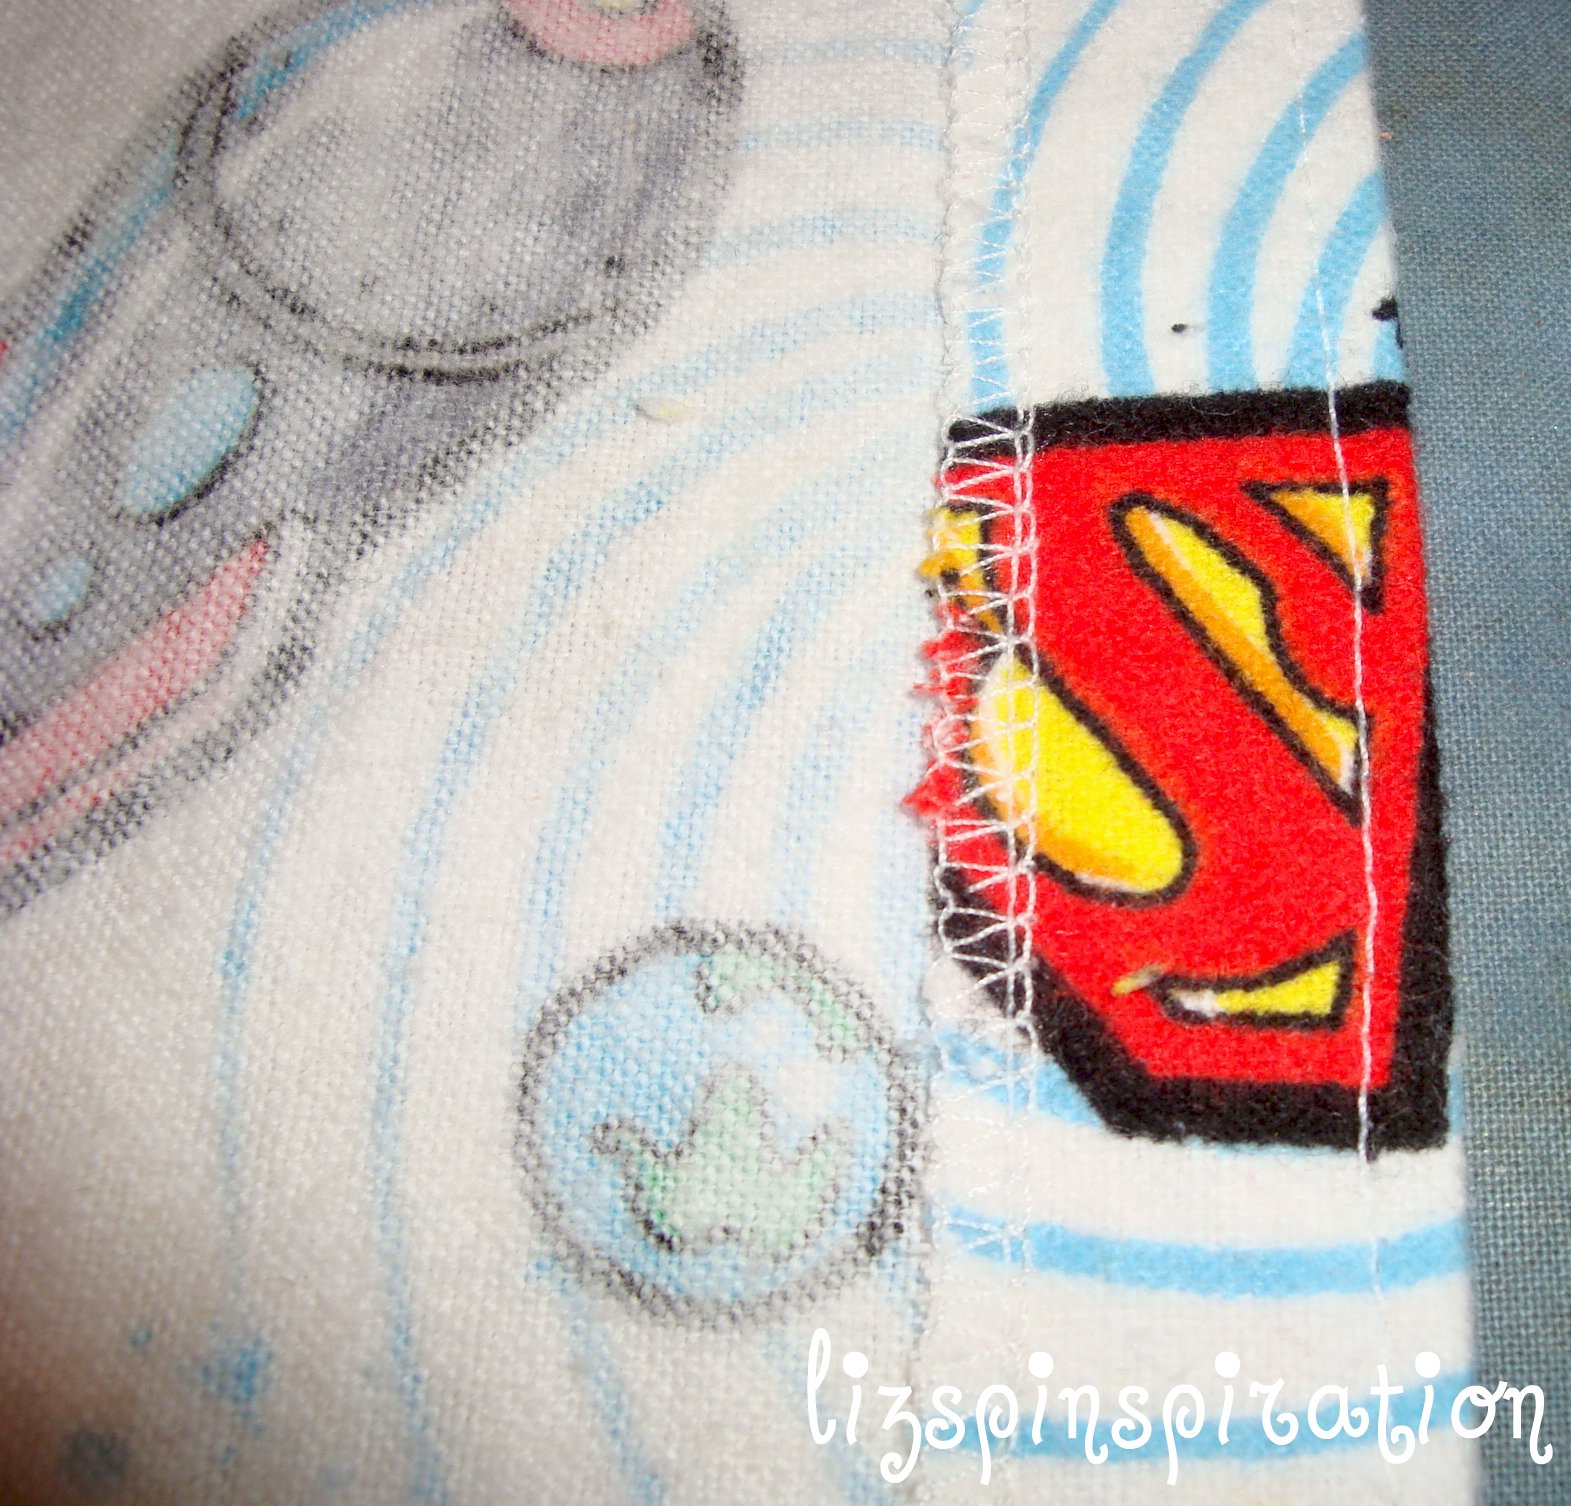
I wanted to make a top to go with it. L likes his jammies to be a matched set. I grabbed a dollar store t-shirt from my stash. (I grab them whenever I see a size that we use. Can't beat $1 and someone is always needing a t-shirt. I also cut them up and use them for miscellaneous projects. Cheap knit jersey fabric.)  I cut a few spaceships and a Superman logo from the scraps and appliqued them onto the t-shirt using trusty ol' Pin 70.
And it was all ready to go!

This morning when I showed them to him he was so excited! Like Christmas all over again.

Look at this (crazy) happy face:
And they fit PERFECTLY!!
Total cost: I don't remember what I paid for the fabric so many months ago. I am guessing probably around $3. I used one yard and had a little scrap. I probably could have squeezed them out of 3/4 yard but maybe not had an embellished t-shirt to go with it. Add in a dollar store t-shirt for $1 and the entire set is $4. You can't buy jammies for $4!!

Total time: 1 hour for the pants. 30 minutes for the top. Easy peesy lemon squeezy.


Final verdict: I hope the crazy grin on his face tells you! He loved them. I was surprised at how easy they came together. I will totally do this again. How easy would this be to make as a gift (if you had the right size of pants to measure. . . )
Aren't you supposed to have bed head AFTER bed?? Just sayin'.
Love this boy!

Thursday, November 1, 2012

Pin 153

The last of my Halloween posts. . .

Original pin:
Pinned Image
http://www.moredesignplease.com/moredesignplease/2010/6/6/diy-recycled-t-shirt-tote-bag.html

I'm not going to lie to my faithful Pinspiration followers. Here is the truth. I did make these. I did not make these this year. In fact, I made them for last Halloween. When I was pulling out all the holiday decor I came across them and decided to share them with you now. So here they are: Recycled t-shirt tote bags.

This was one of the first projects I ever did from Pinterest. It is really, really easy. Last year I thought I could make some really cute upcycled trick-or-treating for the boys. Daddy had this bright orange Halloween shirt that was just begging to be turned into a candy sack. I dug another orange shirt out of his drawer and went to work. In no time at all I had two trick-or-treat sacks ready to go.

The jack-o-lantern shirt was a men's XL and the elephant was a men's L. These made really, really large bags. The boys, then 4 and 22 months, were too small to carry them without dragging. Older brother carried the jack-o-lantern bag trick-or-treating, but it wasn't easy. The bag stretched with the weight of the candy and made it harder for him to keep from dragging. The main difficulty with using these as trick-or-treat sacks was that it was hard for little hands to manipulate the handles to open the bags.


On the flip side, their stretchiness makes them perfect for when you are at the market and need to cram just one more thing in. They are fairly sturdy. Since the armholes are the handles, it is easy to slide the bag all the way up on my shoulder to carry multiple at a time.

Total cost: $0

Total time: I think I made both of these in less than 30 minutes.

Final verdict: Great for shopping, poor for trick-or-treating with little ones. I just may start using them to give gifts in though. It would be really easy to make a bunch in lots of colors or thrifted shirts. Also, you could make them in all sizes based upon what size shirt you buy. Hmmm. . . I have an idea growing. . .