Showing posts with label Easter. Show all posts

Sunday, March 31, 2013

Candy Free Easter Baskets!

I am not a huge promoter of holiday candy. I like baking around Christmas, I like Thanksgiving pies. What I dread is the endless bucket of SweetTarts, Jolly Ranchers, Skittles packages, etc., that come home by the handful around the holidays. I throw them all in a bucket and try to ration them out to my children--who have proven to me many, many times just how wild a little sugar will make them. My littlest literally starts spinning around after a little sugar rush. In a month I usually end up tossing a lot of the candy. I am actually tossing the Valentine candy this week. I don't think it will be missed in the excitement of Easter.

I am not all bah-humbug, though. I did take them to our church Easter egg hunt today. I will have more eggs for them to hunt tomorrow--some with actual candy in them! Those without candy are usually stuffed with animal crackers, Goldfish crackers, pretzels, Cheerios, or other items with a little less sugar.

Our budget is tight this year. I did not really want to spend a lot of money on candy that would get tossed in a month or on trinkets that will break easily. I don't have a ton to spend on big ticket items. I thought it through and decided to buy stuff on my grocery list (or a near future grocery list) and make them a bit more festive and fun than usual. That way I am buying items I will need anyway and will get used.

Here they are followed by a list of what is inside. There are a few little indulgences in there. The whole basket contains only one sugar-y item which clocks in at 4 grams of sugar per serving.


Contents:
I recycled our Easter baskets from a previous year.


Easter themed Goldfish crackers: Since they got them in their baskets this year I didn't put them in the eggs.
Bunny-shaped Macaroni and Cheese: Total splurge! My kids usually get the store brand or homemade.
Toothbrush and toothpaste: To fight decay from the candy they do get!
Book: From the under $4 price range
Got Milk milk straws: My friend mentioned to me that she had picked these up for her son's basket and I thought they were a great idea! They are straws filled with a little flavoring (this is my sugary treat for them) that are used to drink milk. They flavor the milk as you drink. I figure the milk drinking balances the sugar out a bit.


Flip-flops: Spring is upon us and flip-flops are a summer necessity around here.
Squeezable applesauce: My kids love this stuff but it is not on our normal list. They are usually stuck with the jarred kind.
Mr. Bubble foam soap: They needed bath soap anyway.
8-Pack of new crayons: My oldest has realized the wonderfulness of a fresh pack of crayons complete with perfectly pointed tips. Ahhh, a boy after my own heart!

Total cost: About $23 each. Yes, that is a bit more than I would have spent filling their baskets with dollar-store treasures, but now I don't have to buy all these necessities on top of that. The crayons, milk straws, and books were the three items that wouldn't have been purchased at all. Those together were $6.50. I guess you could look at it from that perspective that the baskets were only $6.50 on top of our normal spending.

Final verdict: When I list out loud what I got them (toothbrush, soap, shoes) it sounds kind of lame. One day my kids may look back and think this was a lame basket, but I think its actually pretty great. I think they will love it!

Tuesday, March 26, 2013

Pin 195: Fun Fur Easter Wreath

Original pin:
P3091852 copy
The pin I had on my pinboard has an incorrect link but I liked this wreath so much I found what appears to be the original source and this is the link complete with a tutorial showing simply how easy this is: http://pattyschaffer.typepad.com/capture_the_details/2010/03/monday-make-it-spring-baby-grass-wreath.html

I pinned this a long time ago but had kept it in the back of my mind waiting for spring. After cleaning up the debris from Valentine's day, my mind went to this project. I sought out this yarn while at my favorite yarn store but was immediately turned off when I found it was $7.99 a skein. Because my original pin didn't have the correct source, I wasn't sure how many skeins I would need, but I was sure it would be at least three or four. This yarn is so skinny! Mission aborted!

I came home and started researching the original link. Turns out her wreath was only 8 inches but she only used one skein! Honestly, I was skeptical about this one. The next week, while at a different craft store I decided to check out their fun fur prices--just in case. I was pleasantly surprised to find it $2.99 a skein--and I had a coupon!! This project was back on.

I did want a larger wreath, so I purchased a 14" wreath. I bought a straw one because it was half the price of the foam. I left it in the plastic packaging to keep it neat. I also bought 2 skeins of the yarn. I started working on it that day. The more and more I wrapped, I just kept thinking, "There is no way that two skeins will be enough. NO way." I've been wrong before, and apparently I was wrong again. One skein covered almost 2/3 of the wreath!

See how small one skein is!! I can't believe it covered this much wreath.
Once I finished the first one and saw how much it covered, I squished it all in a little tighter before starting the second skein.

I had no trouble with the pins inserting or staying put in the straw wreath. Turned out to be a good swap. I used the entire roll of flower trim and then used scrap book paper, double sided tape, and a toothpick to make my little flag. I made it reversible and included a second phrase.


I just cut a long strip of white cardstock and folded it in half. I put a toothpick at the fold and secured it all with a strip of double sided tape.

I didn't think this would be a good outdoor wreath--especially with spring weather, so I hung it on the inside of the back door using a 3M release hook. I think it is super cute, and my kids like "petting" it. Lu-boy keeps asking if it is real grass.

Total cost: Okay, so overall it wasn't super cheap because I had to buy everything! Pink-head pins, ribbons, trim, wreath form, fun fur yarn. I spent about $22. But I love it so much I don't even care! And I can justify the bargain of the yarn not being $7.99 and using a coupon!

Total time: 2 1/2 hours

Final verdict: I think it is very spring-y. It was ridiculously easy. Once I realized that one skein really would cover an 8 inch wreath I started thinking about who I could make one for. I love it!

Tuesday, May 1, 2012

Pin 64

Original Pin:
Pinned Image
http://www.sugarbabyaprons.com/blog/item/78-im-dreamin-of-a-pink-christmas

Pink Lemonade Pound Cake--a perfect Spring treat!

I needed a desert to bring to work today to show some coworkers just how much I love them. This looked yummy and spring-y. It smelled absolutely delicious while it baked. It starts with a cake mix so it isn't very complicated. My husband was upset that I wasn't making it for him because it smelled so good! The pink color of the cake is due mostly to food coloring. I didn't quite achieve that color because after about 8-10 drops I decided that was enough. Mine was more pink-tinged colored but I covered it with enough pink frosting that it didn't matter.

Looks like a giant pink donut! I almost put some over sized sprinkles on top.
It was super tasty--sticky, yes, but moist and tasty! You can see in the picture that not all the pink lemonade poured on top after baking soaked in. There was maybe a quarter cup or so that oozed out on the plate. I was a little pressed for time, so maybe if I let it soak in overnight before flipping it that would have helped. As it was I gave it about one hour. It tastes better cold so I'm storing it in the refrigerator.

Total cost: $5 for cake mix, pudding mix, and pink lemonade concentrate

Total time: Hands on, about 45 minutes. An hour of baking, an hour of cooling. Then I put in the refrigerator.

Final verdict: It is good. Very sweet so I can't eat too much at once--which is a really good thing. That also makes it a great cake for sharing. It would be so cute for a baby shower for a baby girl or an Easter dessert.

Sunday, April 8, 2012

Pin 49

Original pin:
Bmellowdress14proof
http://sewingin-nomansland.blogspot.com/2010/07/sunshine-daisies-bottom-mellow-mommy.html

I thought this dress was so cute! And it looks pretty simple so I thought I could whip it together quickly just in time for Easter Sunday. Yesterday, Saturday, I spent all day running around from T-Ball to the community church egg hunt and then getting ready for Easter with the family. I was exhausted by 7 pm. Time to put the boys to bed and get this puppy started.

I printed out all the pieces and had glanced over the instructions. One of the first things that jumped out to me was that it is not noted what the seam allowances are and I couldn't tell if the pattern pieces accounted for them. The back bodice piece looked small so I increased it by about two inches across (thankfully!) This model must be very, very petite.

The instructions were written as if the author were sitting in the room with you and pointing to pieces while she talked. Rather than naming the pieces like, "sew the collar piece to the bodice piece" it was worded, "topstitch what you just sewed." That took me a minute to figure out that it meant to put the collar on the bodice.  I spent a lot of time staring at her pictures to figure out what exactly she meant. Also, it felt like there was maybe a step or fabric piece missing in relation to the main skirt (yellow part) because the pattern only called for one cut and the instructions never called for sewing a seam on the skirt. Luckily, I read through the directions first and noticed this so I went ahead and folded the fabric so that I could have one back seam and two arm holes (important, right?) A commenter to her post asked this same question but then minutes later commented again that she had figured it out. No further explanation so I'm not sure if I just missed it, although I read it over and over, or if maybe she and the author had an email exchange. 

The only major snag I had was that I put the sleeves on upside down. I knew it was wrong when I did it but it was late and I needed this dress for the morning. I improvised and tucked the excess fabric in to make the sleeves more like flutter sleeves than cap sleeves. They weren't awesome but they looked good enough to wear.

The yellow skirt is what initially drew me to this picture so I stuck with yellow for mine too. Feels real Easter-y.

It is way shorter than anything I usually wear, but I don't think it looked inappropriate. I used every inch of the 3/4 yard of yellow fabric the pattern called for. If you are any bigger than me I would recommend getting maybe a full yard or more depending on how full you would like it. My collar could use a little fine tuning and I just may rip the sleeves off and flip them around before I wear it again, but overall I thought it was pretty cute.

Guess yellow and turquoise were the colors of the day. This was totally unplanned and you can't see Suzie's turquoise necklace in this picture, but I assure you it was there.

My collar got a little wonky after a few glasses of wine!
Total cost: $8

Total time: 3 hours

Final verdict: This will be a fun summer dress. I felt cute in it even though my legs have yet to see the sun this year. To follow this pattern and instructions you must have some experience with sewing because some of the things it requires are intuitive sewing steps. It is also a pretty small pattern so you may need to size it up or down. It is a little shorter than I would like so I my add some trim or additional fabric to the bottom.


Friday, April 6, 2012

Pin 47 & Pin 48

Original pins:

http://www.myrtleandeunice.com/2011/04/how-to-make-easter-chick.html

and so I needed a quick review of the blanket stitch. . .

http://www.futuregirl.com/craft_blog/2007/9/tutorial-hand-sew-felt.aspx

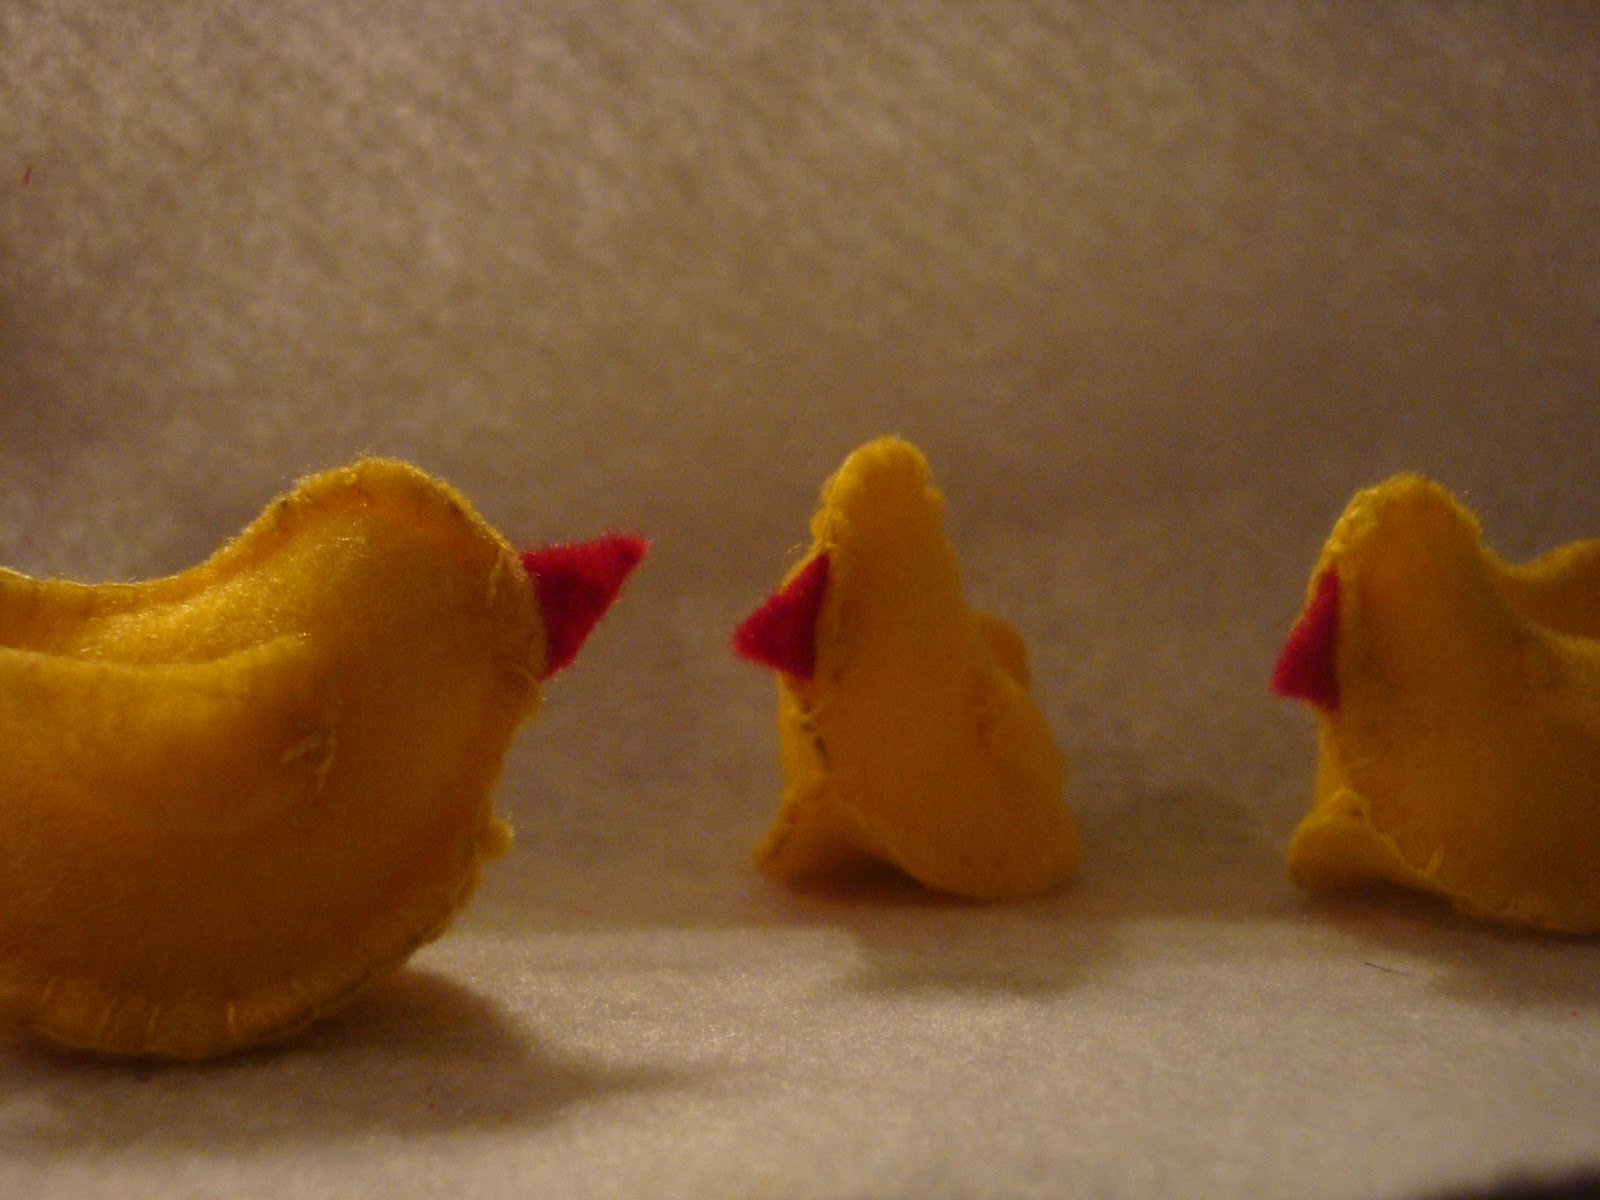
Mine are nowhere near as cute as the original creators. Sticking to my craft budget, I used the leftover felt from Superhero Cape Day and picked up some floral wire at the dollar store. Toss in a couple of cotton balls for stuffing (didn't have any polyfill on hand) and, well, it just isn't quite as professional looking. Don't get me wrong, I still think they are cute as all get out. Mine are more on the whimsical (abstract) side of life.  Not too bad for my first blanket stitch project though.

I thought they would be much bigger, but they are teeny, tiny. Itty bitty. Cute little buggers.

A bunch of sitting ducks before eyes and feet.
 The cotton didn't fill them up full. I was a little scared to pack it too full since it was cheap felt and I was afraid it might rip! So they are just hungry little Easter chicks!

 The feet were the hardest part of all! The thick floral wire was difficult to shape into three toes with a back toe, so some of the chicks only got three toes total! Here they are, hanging out on my mantel. Sadly, this is the extent of my Easter decor this year. I guess it's a start!

Total cost: $1

Total time: 1 hour 30 minutes for three

Final verdict: Cute, but quality materials would make them cuter. I might try to make them a tad bigger but then they might not stand up. I love them anyway!